|
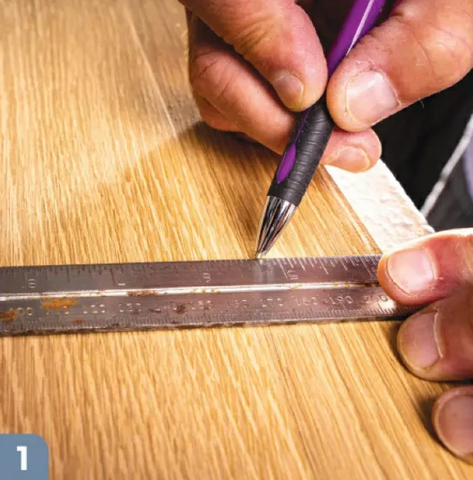
Measure your square blank approximately 1/2" (1.3cm) larger than the pattern design.
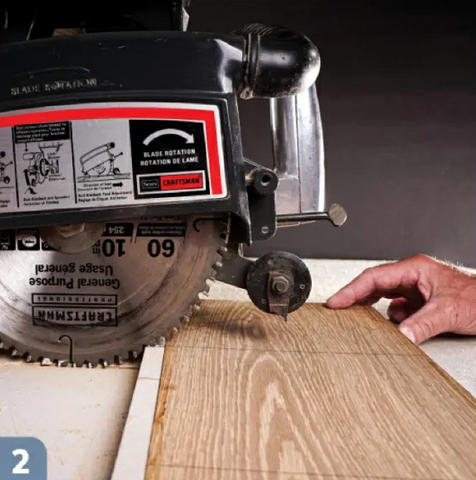
Cut the blank. For this step, a radial arm saw (pictured) or sliding compound saw works well, but you can use any saw.
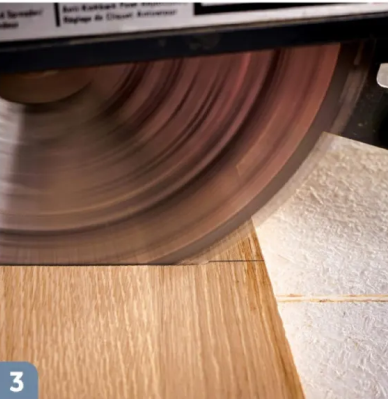
Cut carefully along the outside of the line.
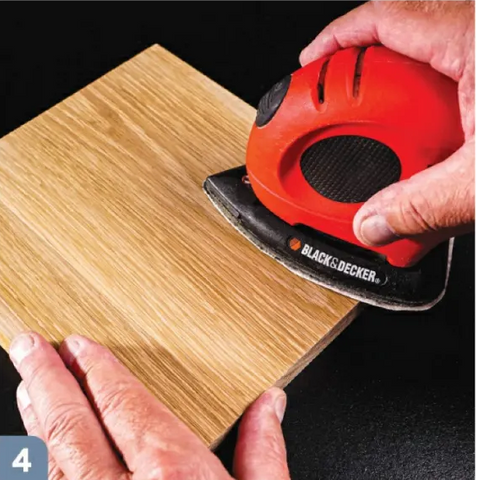
Sand the wood blank on both top and bottom. l used a palm sander, but you can also use sandpaper.
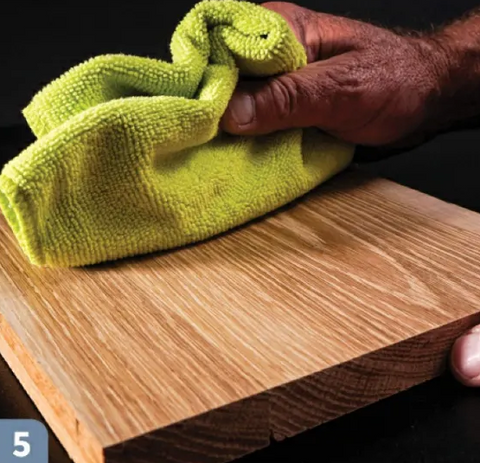
Clean the wood thoroughly with a tack cloth, removing all dust and ensuring you have a clean, smooth surface prior to attaching the contact paper and pattern in the following steps.
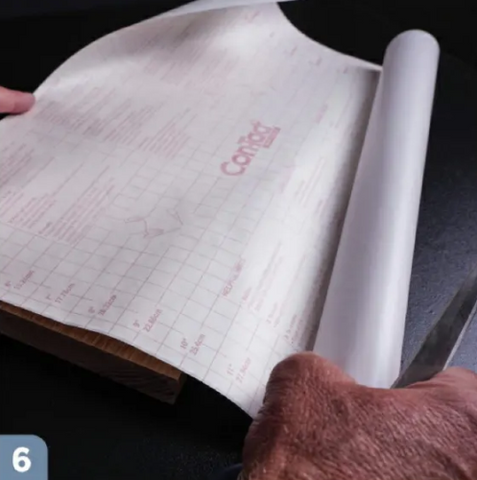
Measure and cut a piece of contact paper to the same width as the wood blank, peel the backing off the paper, and apply the sticky side to the wood.
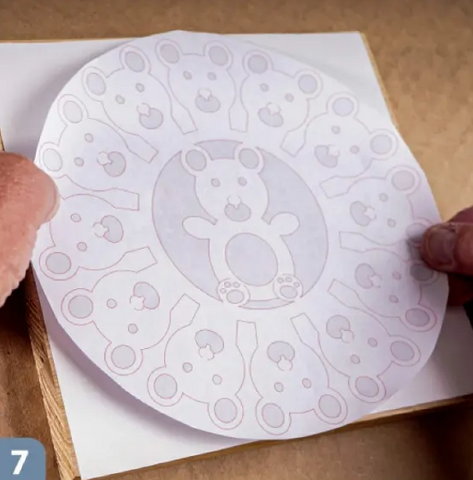
Cut out the pattern, apply spray glue to the back side , wait 30 seconds to 1 minute for the glue to become tacky , and then apply the pattern to the contact paper.
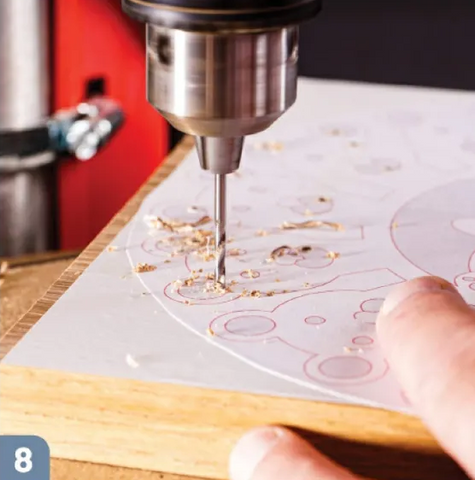
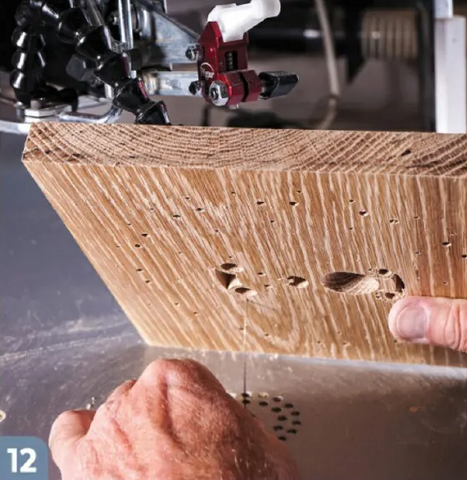
Drill all the pilot holes, including the bear eyes of the desired diameter. if possible , use a drill bit to match the size of the eyes—the drill bit diameter suggested for the eyes is 1/8"(3.2mm).Then sand the back side of the blank to remove the rough edges created by the drill bit.
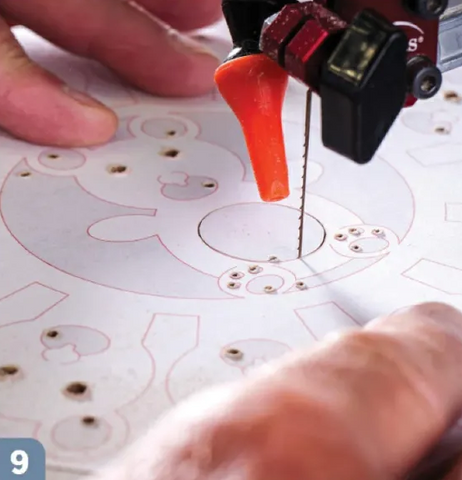
Start by scroll sawing the center of the bear's belly.
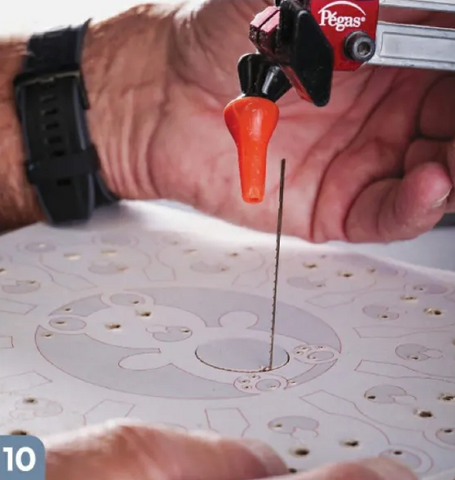
When you're done with the bear's belly , remove the blade to move it to a different pilot hole.
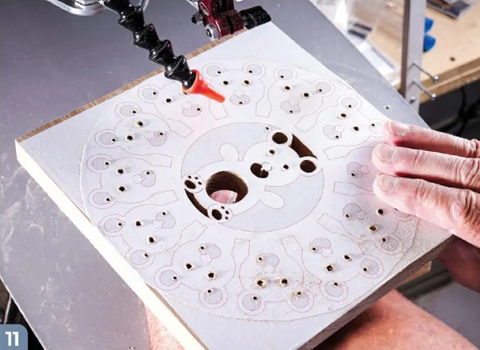
Cut the toes, feet, mouth, ear centers, and space below the feet next. Pop out the cut pieces as you go.
Each time you start a new fret, carefully thread the blade up through the pilot hole without overly bending it.Bending the blade too much will cause a kink or potentially weaken it.
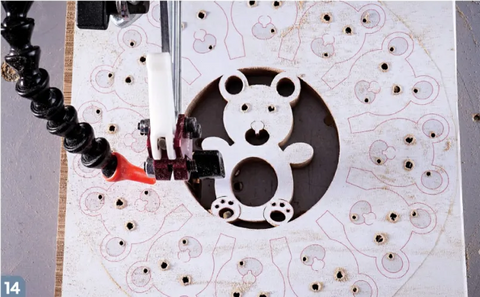
After finishing the bear's features, scroll saw the space to either side of the bear.

Here is the finished central bear. Make sure to periodically brush away excess sawdust so that it doesn't get in your way as you proceed.
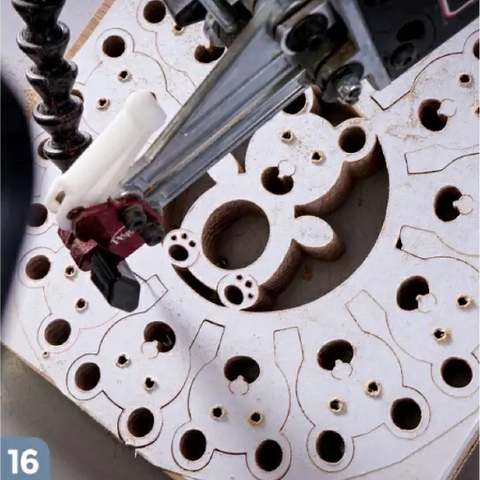
Next, cut all the mouths and ears of the surrounding bear heads.

Cut the single. unbroken outline around all the bear heads.
Remove the blade and start to carefully pop the piece out of the blank.
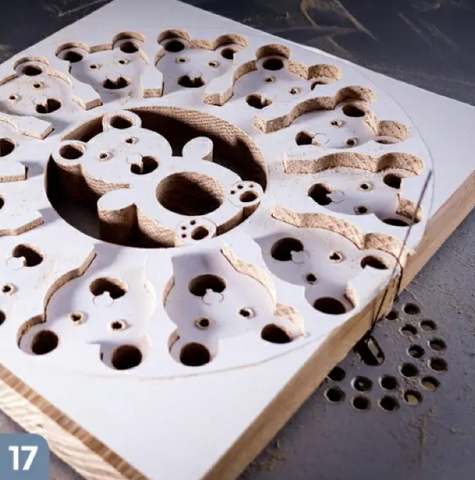
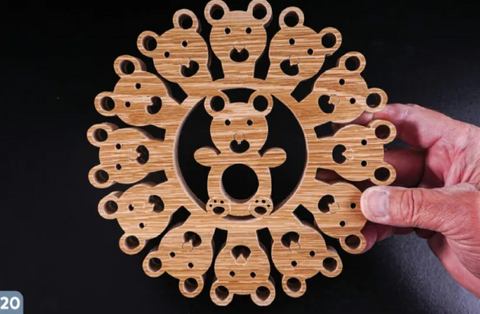
Here is the finished fretted piece before clean up.

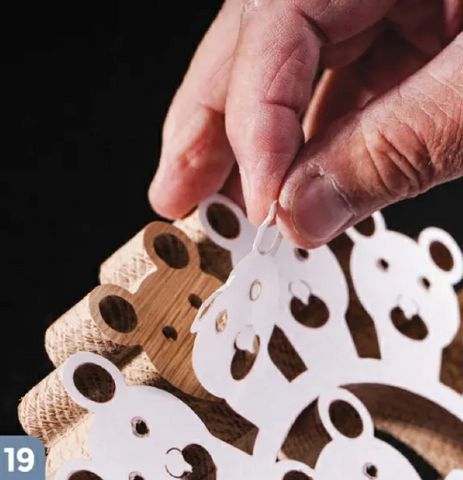
Remove the pattern from the piece by simply peeling away the contact paper.
Sand the piece (see Basic Process, here) and finish as desired (see finishing options beginning on here).
|